
Plan picker is designed for subscription products. For one-time
purchases or simple price selection, use Price Picker.
How it works
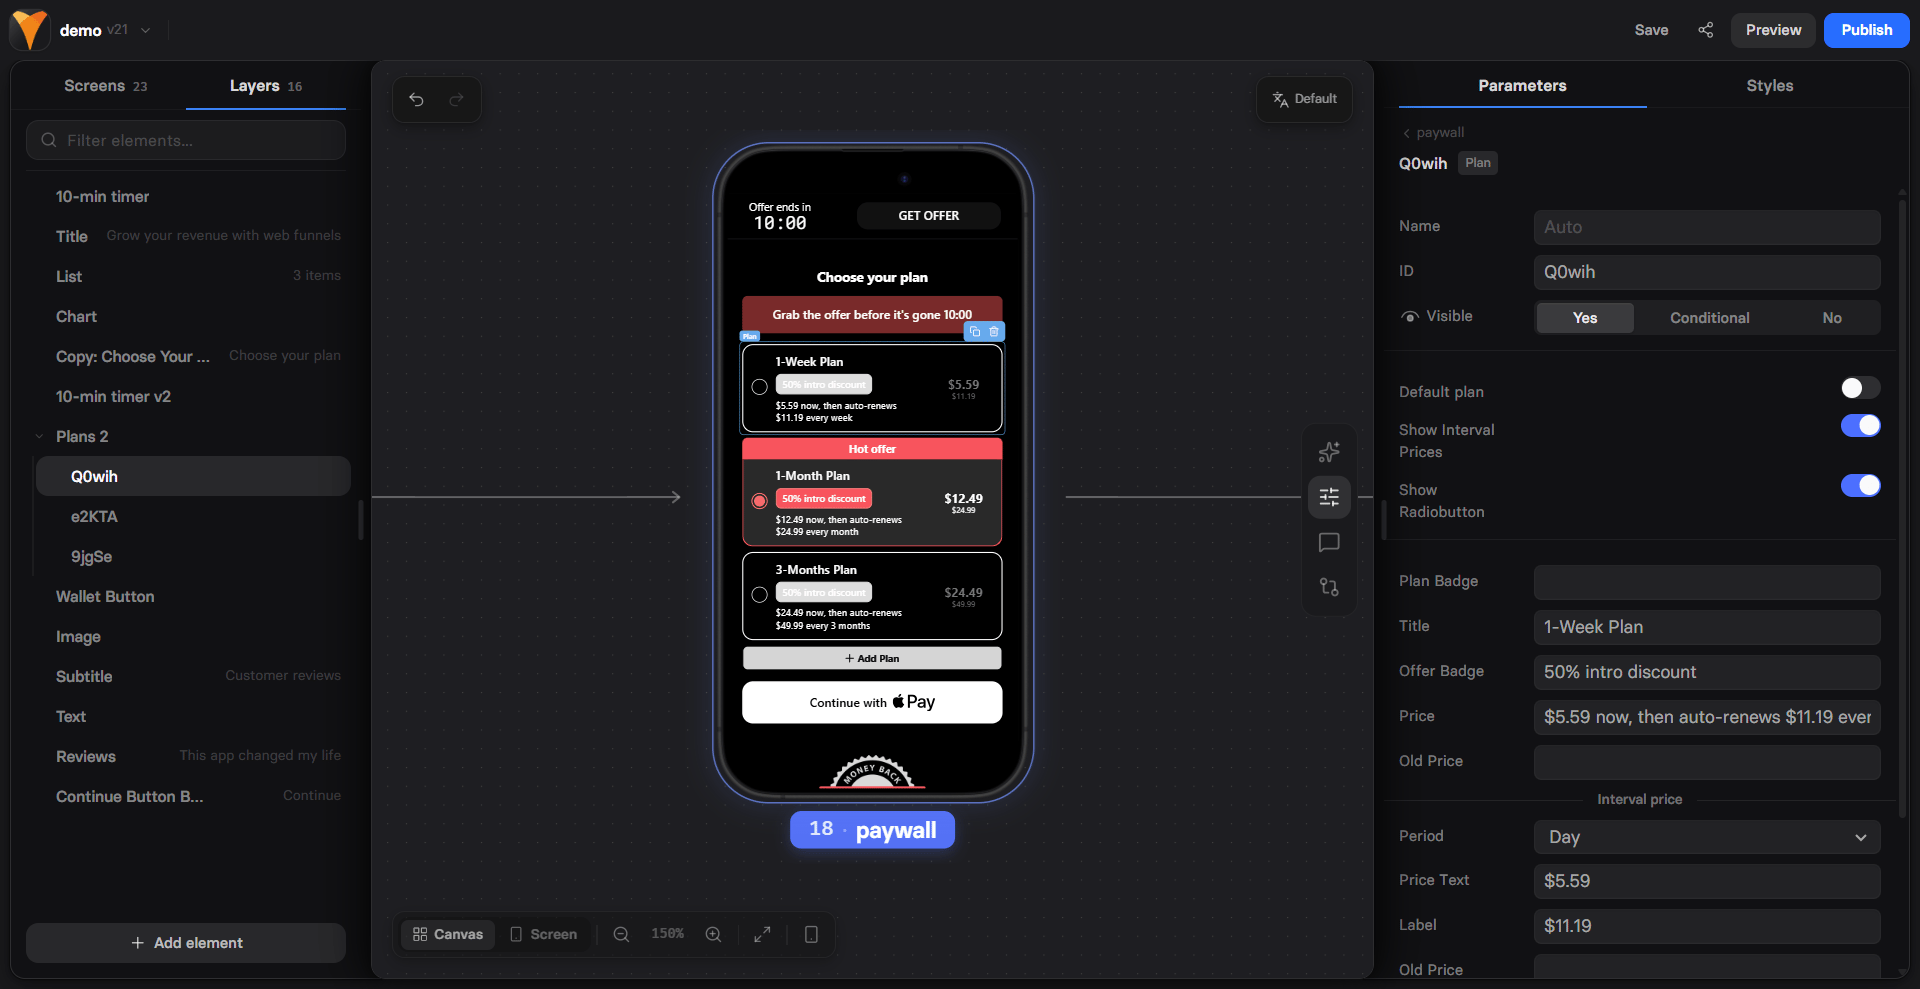
The Plan picker is a container element that holds individual plan components. Each plan represents a subscription or purchase option with its own pricing and billing period. It allows you to visualize plan selection for users on paywalls. For example:- Composite: Each plan includes its own subscription button. You type the prices.
- Simple: The subscription button sits outside the plan picker. You type the prices.
- Billing: Each plan takes its price from a FunnelFox Billing price point. The subscription button sits outside the plan picker. Available when FunnelFox Billing is connected to your project. Learn about syncing prices with FunnelFox Billing.
Create plans
Set up your plan picker by adding the element and configuring individual subscription plans with pricing and billing options.1. Add Plan picker
- Composite or Simple
- Billing
1
Add element
Open the Elements tab on the left, click Add element and go
to Paywall elements.
2
Select Plan picker type
Select the type:
- Subscription Plan Picker (composite): Each plan includes a subscription button.
- Subscription Plan Picker (simple): Subscription button is placed separately from plan picker.
3
Configure element ID (optional)
If you’re using multiple plan pickers, configure the element ID to
sync them. Learn about syncing multiple plan pickers.
2. Configure plans
Go to Properties > Parameters for each plan and configure it.- Composite or Simple
- Billing
- Visible: Optionally make the plan conditional, based on previous user inputs. Learn about conditional visibility.
- Default plan: Pre-select recommended plan. Combine with a badge to encourage user selection.
- Show Interval prices: When set to Yes, displays daily/weekly/monthly prices with custom labels.
- Show Radiobutton: Adds radio buttons to indicate selection.
- Plan Badge: Shows a badge at the top of the plan to encourage selection. For example, BEST VALUE, POPULAR, SAVE 50%.
- Title: Plan title visible to users. Supports dynamic content using variables.
- Offer Badge: Shows a badge inside the plan. Supports dynamic content using variables.
- Price: Actual price, e.g. $9.99. Supports dynamic content using variables.
- Old Price: Strike-through price for discounts.
- On Press: Configure actions that run when the plan is selected, such as navigating the user, revealing hidden elements, and more.
3. Plans layout
Beyond the overall plan picker element layout, you can also adjust the layout of each individual plan, badge, or price block. Go to Properties > Styles to fine-tune visual properties.Sync prices with FunnelFox Billing
A Billing Plan Picker takes each plan’s price from a FunnelFox Billing price point instead of text you type. When the funnel opens, each plan loads the current price of its price point. While the price loads, the plan shows a loading state. If the price can’t load, the plan shows the price saved when you selected the price point in the editor.Price variables
Each plan publishes its prices as variables. In the plan’s own texts, type the short form, for example{{price}}. The plan fills it from its own
price point.
A variable the price point doesn’t support shows empty text. A badge that
uses
{{discount}} hides when the discount is 0.
To show a plan’s price in another element, such as a Text or a Button, use
{{element.plan-id.variable}}. Replace plan-id with the plan ID, for
example {{element.month.per_week}}. Learn about
variables.
With Old price set to Formula, the strike-through price is calculated
from a base price, an operation (×, +, −, or % off), and
rounding. For example, Full price $29.99, × 2, rounded
Up to .99, gives $59.99.
Sync plan pickers
You may want to use multiple plan pickers. In this case, sync them so when users select a plan from one picker, the same plan is automatically selected in other pickers. To sync plan pickers:- Use the same element ID for all plan pickers (e.g., plans).
- Use the same ID for each corresponding plan (e.g., the monthly plan should have the same month ID across all pickers).
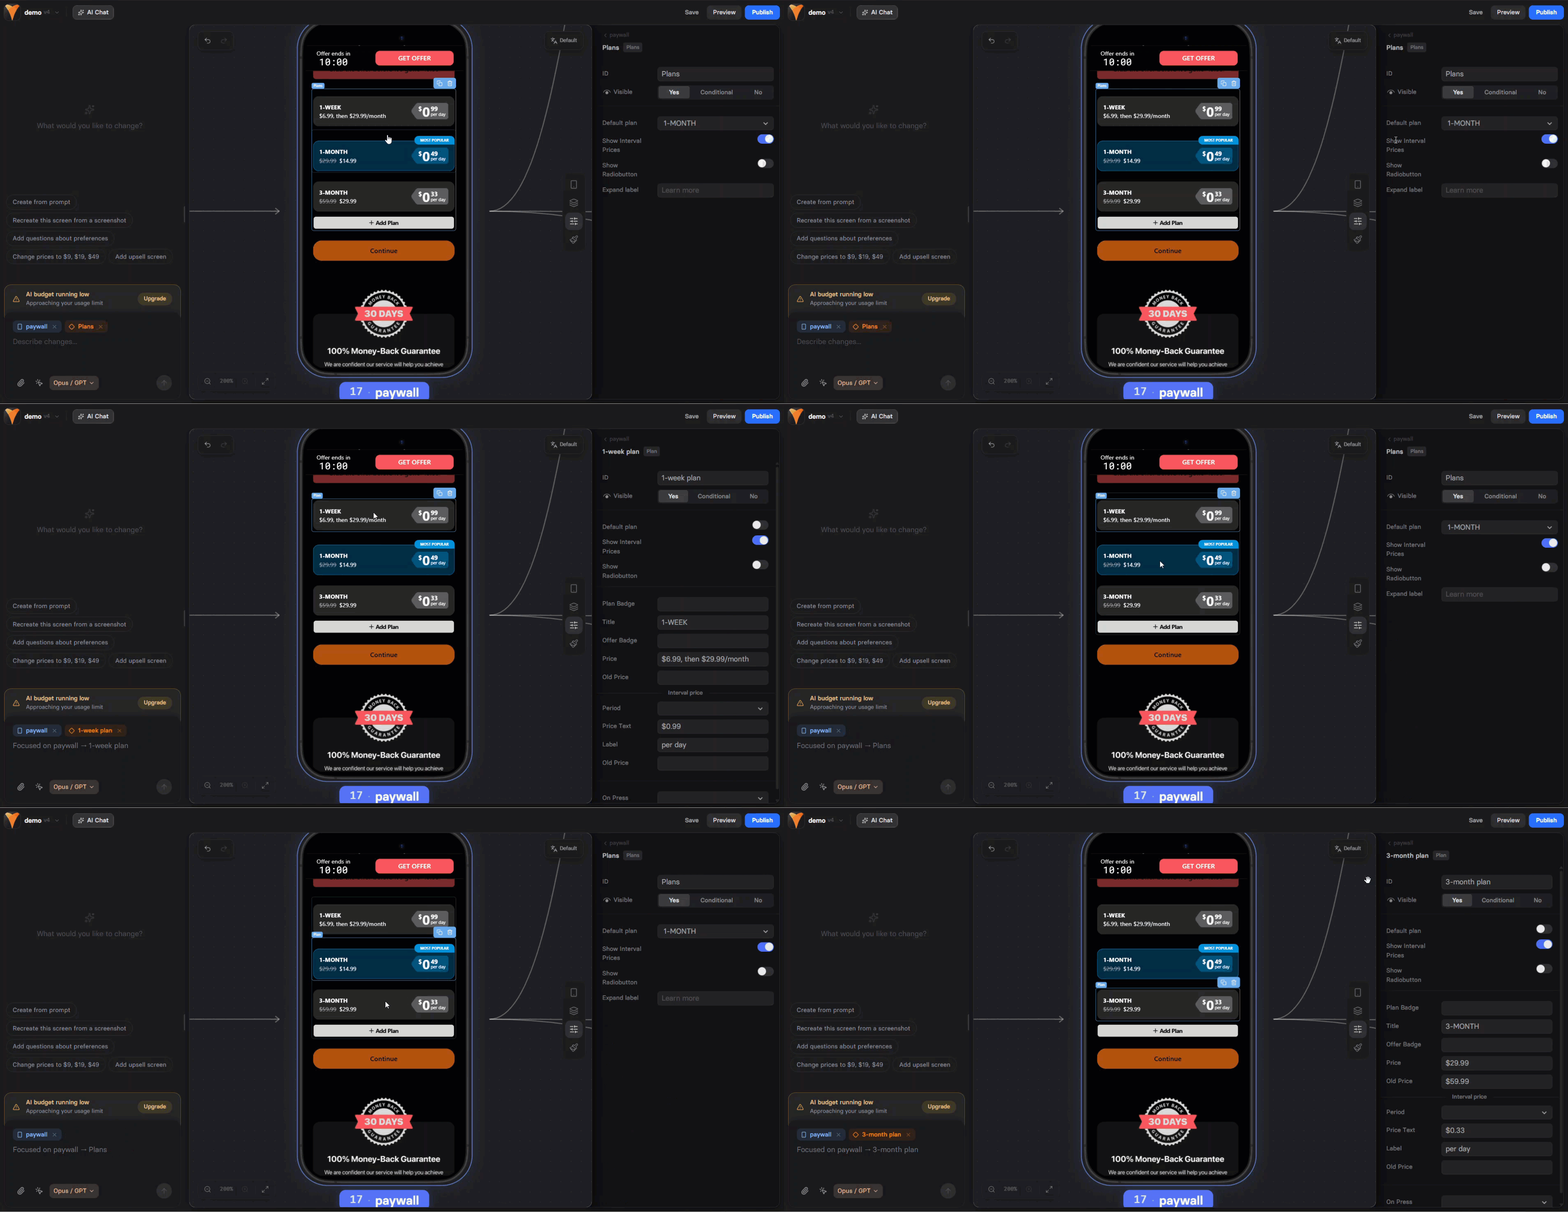
Synced Billing plans share an ID, so they publish their
price variables under the same name. Select the same
price point for synced plans.
Next steps
- Add checkout for payment processing
- Create experiments to test plan variations
- Use variables to show plan prices in other elements
- Manage price points in FunnelFox Billing